Wednesday, September 28, 2011

Vegan Insanity


I have officially gone Vegan. Yay! I'm excited about my choice and cooking up lots of yummy vegan recipes. Keep your eyes out! Desserts are my favorite hehe. I've been here before, but this time I'm here to stay. I've realized that being a vegan is more of who I am. Since I've left college and entered the real world, I've been figuring out who I really am. What do I like, love, want, and need?

Vegan is my first choice. I'm the type of vegan who eats a plant-based whole foods diet, not the one who goes, "Oh look it's vegan, I'll eat it" kind. I do it for my health first, morals second. The last time I was vegan I was very preachy-preach and guilt-tripping people about, "How COULD you eat that poor baby cow?" This time around I've learned to just talk about it when the time and crowd is right. Along with my dedication to a vegan lifestyle, I have added on something just as intense:


Besides deciding on veganism, I have dedicated myself to the workout program called Insanity, by Shaun T. The program is a 60-day interval training cardio program that turns your flab into muscle, and ultimately cuts your body fat percentage. Around this time last year I was doing another BeachBody program called P90X. People were asking me how I got so fit and why I looked so healthy.

These programs are no joke! They work for me, and they work great. Six days a week I get insane and challenge every muscle in my body to work it's hardest at keeping up with Shaun T. The best part? When I'm done I feel amazing. My mind is focused, my body is dripping in sweat, and I'm ready to take on the world. Fitness is not just a come and go kind of thing; it is a commitment for a healthier lifestyle. 

From the months of January through now I've only been going to the gym, jogging, and lifting weights at home. I lost all my P90X muscle mass, strength, and confidence. For some people, they have the discipline to get a hard enough workout on their own; I need someone like Shaun T or Tony Horton to yell it at me.

Recently on Twitter I was asked, "Is it hard being a vegan and doing such an intense workout program?" 


Definitely not. Usually people who do these programs start out overweight and eating like crap. I was already working out at my gym 3-5 times a week and eating a healthy diet. Being vegan doesn't hinder, but helps my workouts. As a vegan, I am super aware of my intake and nutritional values of my meals.

My plant-based whole foods nutrition is only benefiting my workout. Instead of supplements, protein shakes, and gatorade, I eat real food that has a higher bio-availability. I've learned that eating a salad with spinach, quinoa, beans, avocado, pine nuts, cashew cheez', agave candied walnuts, and rice vinegar will be better for my body than a soy protein shake. I've looked at the nutrition plan for Insanity (which is not vegan friendly) and have found that my diet intake is equal to or more nutritious.

Better Images Coming Soon!
I'm currently shopping around for a new camera. As suggested by Kathy, I'm starting with a Canon Rebel kit and going from there. I'm looking at the Canon T2i right now and sleeping on the decision because it is an investment. I know you will enjoy the better images as much as I will enjoy taking them. So long to the cell phone camera and hello to a real Digital SLR. I couldn't tell you how much I've learned today from reading all these reviews, product descriptions, and websites. I'm still gawking at the Lytro idea, but know that this will come on the market and I'll wait for my amazon reviews. See you soon!

xoxo Nixie

Here is the link to my Insanity profile! http://www.teambeachbody.com/member/sn/Organnix


Sunday, September 25, 2011

Strawberry Lime Fronch Toast

Waking up late on a Sunday and craving a warm sweet breakfast is the highlight of my weekend. I lay in bed thinking of my fridge contents and start to stir things up in the bowl of my mind. As soon as I decide, I jump up, make my breakfast, and come back for my Sunday morning writing and watching of health related shows or instant Netflix. Today I decided on using my sprouted bread for my favorite recipe, french toast. It's easy, quick, and delicious.

It is incredibly simple to alter the recipe to fit what's in your fridge. If you don't have lime, don't add it. Maybe you have a lemon extract instead, add that. Get creative! Don't have strawberries? Use apple slices or pears. Here is a jumping off point; now dive in.

What You Need
3 T Whole Wheat Flour 
1 T Baking Powder
1 C Soy Milk 
1 tsp Agave
1 tsp Vanilla 
1 tsp Earth Balance, melted
Juice of one key lime or half a regular lime 
1/4 C flax egg= 1/8 cup flax meal+ 1/8 cup water
4 Slices Sprouted Cinnamon Raisin Bread (I used Trader Joe's brand) 
4 Strawberries, thinly sliced
2-4 T Soy Cream Cheese 
Agave (Optional Decoration)

Earth Balance for greasing pan


What To Do
Heat pan on medium with enough Earth Balance to moisten the bottom.
Mix dry ingredients. Stir in milk, flax egg, agave, vanilla, and lime juice. Dip bread in mixture until fully saturated. Place on pan for 2-3 minutes on each side. DO NOT flip too early! It will ruin the crispy crust on your bread and you'll lose your delicious flavor. You can use the edge of the spatula to check the status, and then continue to flip if it's a golden brown.

Assembly
Top one slice of bread with a spoon of cream cheese and sliced strawberries. Place another hot slice on top of that to melt the cream cheese. This will make it taste like cheesecake! Top with more cream cheese, strawberries, and drizzle with agave nectar.

Health Tips
Flax meal is incredibly healthy for you. Adding it to your regular french toast recipe will add fiber, antioxidants, and lignans. Lignans help protect against breast cancer by binding to the receptors and interfering with cancer promoting effects. Add flax to any of your baking recipes that require eggs!

Cut the Calories 
If you want to cut the calories on this recipe, leave out the soy cream cheese and all agave. Use lime juice and more strawberries to garnish.

Calories: 150 kcal/slice, 25 kcal/4 strawberries, 60 kcal/T cream cheese, 60 kcal/T agave
Total per serving: 300 calories 
Simple. Delicious. Healthy.

Saturday, September 24, 2011

Homemade Chocolate Peanut Butter Cups


Who can turn down chocolate? After reading a post about peppermint pie, I bought some extract expecting to make it. Once I mentioned to the omnivore boyfriend that I needed silken tofu for it, he denied his interest. I decided to get creative so that we could share dessert. My result: Chocolate cups filled with peanut butter or peppermint creme. Let's just say the result was, "Yum. Can I eat it all?" 


 As you can see from the photos, this will be the easiest candy you've ever made. No thermometers, special molds, pots or pans. Just an easy melt, stir, and spread.

What You Need
1 Bag Semi-Sweet Chocolate Chips


Peanut Mixture
3 T Natural Peanut Butter
1/2 tsp Agave
1/2 tsp Nutritional Flakes


Peppermint Cremé
3 T Soy Cream Cheese
1/4 tsp Peppermint Oil 
1 tsp Powdered Sugar


Cupcake liners
Cupcake pan 
Ice cream scoop with button


What You Do 


Line cupcake pan with paper liners.

Melt half of the bag of chocolate chips in a glass bowl over boiling water. Stir with a rubber spatula.

Using the rubber spatula, spoon chocolate into the ice cream scoop and place into cupcake liners. I used half a spoonful for each. Make them as thin as you'd like. I came out to 8 cupcake liners filled. If you use less, you can fill all twelve.

After filling all cupcake liners with the melted chocolate, place them into the freezer to harden.

In two small bowls, make the peppermint creme and peanut butter. If you're not into the mint flavor, just make twice the amount of peanut butter mixture. Place the peanut butter ingredients in one bowl and mix until creamy. If you're peanut butter is too stick, place it in the microwave for 15 seconds.

Mix the peppermint cremé ingredients in a separate bowl until smooth.

Melt the rest of the chocolate chips in the bowl the same way as the first time.
While melting, take out the hardened chocolate and scoop a teaspoon of each mixture onto it. (Seen above in photos) Feel free to eat any leftovers or lick the bowls. I did! :) 


Now scoop the chocolate onto the top of the mixtures and spread around with a teaspoon until smooth. Keep the edges clean if you want it to look like a Reeses cup. If you like the layered look, then spread it to the edges. Place back in freezer for 10-15 minutes until hardened. Mine didn't even take that long!


Dig in!


Friday, September 23, 2011

Maple Roasted Radishes


What the heck do you do with radishes? When I got them in my CSA (community supported agriculture) box, I just threw them in my fridge's bottom drawer and had faith an idea would come to me. A week and a half later they were still there ready to commit suicide. Those poor sad radishes. So I gave them a reason to live today...to be roasted.

Roasted radishes? How can that taste good? Aren't radishes bitter and weird? Yes, when they're raw they can have a bite to them. But after roasting in a sweet and savory sauce, they almost taste like potatoes. Don't believe me? Try it next time you're stuck with a bunch.

What You Need 
  • 5 red radishes
  • 1 T Maple syrup 
  • 1 T Olive Oil 
  • S+P 
What to do 
Preheat your oven to 400*F 

Line a small baking sheet (I had a mini one about 5X8'') with enough foil to fold up on the sides about 3 inches. 

Place maple syrup, olive oil, and a few grinds of black pepper and sea salt onto the foil. Spread it around with your fingers, or move the foil around so the bottom is coated. I just tilted my pan side to side and the sauce spread itself out. 

Dice up your radishes, being careful to cut off the greens on the ends. Toss the radishes in the foil until all are coated like so: 


Create a seam in the foil by folding the sides up and pinching together. Bake for 10 minutes.

Take out, unseam the foil, and cook for 10 more minutes, being sure to keep the foil folded up on all sides to prevent the yummy liquids from spilling out. Important: This will keep them moist! 

When done, the radishes should be soft like a baked potato. Pour everything into a shallow bowl and top with extra margarine or agave if you'd really like to sweeten the deal. I put a dollop of Earth Balance and drizzled agave on mine for a pretty effect. :) 

So now you know: Radishes aren't a dunce. They can be yummy too! 

Healthy Hour Tacos


As I was shopping at Trader Joe's last night I saw taco seasoning on sale for only $.79 a packet and got excited. At the time, I wasn't sure what I was going to do with it. Friday night came around and I got inspired by the few ingredients in my fridge.

Start out by crumbling and seasoning the tempeh in
  • 2 T organic tomato paste
  • 1 packet taco seasoning 
  • 4 T olive oil 
  • 1 tsp. maple syrup
in a medium sized bowl. After mixed well, throw the tempeh on a nonstick pan on low heat like so:


Make sure you lay it out on the pan so it cooks evenly. I put it on low heat so you have time to chop and set everything else up. Now chop up all your favorite taco additions while the "meat" cooks. I added:
  • fresh crisp romaine lettuce
  • avocado
  • halved baby tomatos 
  • Daiya Cheese 
If using tortillas, wrap and heat them in the oven at 200* for 5 minutes.  If using romaine, rinse and dry your lettuce leaves. Lay them out on a plate for topping later. If you like your cheese melted, place your tortillas under the broiler on foil for a minute. The cheese will melt and the tortilla will be heated.  

After you finish setting up your taco line for piling on the goods, turn your heat up to high and toss your "meat" until browned, but not too crispy. If cooked too long it will get hard, so taste your food!

When your meat is done, assemble your tacos and enjoy! 


Wednesday, September 21, 2011

3 Ingredient Cashew Spread

Chip's New Best Friend
Have you ever been to a raw, vegan restaurant and ordered a pizza? Chances are you had this dolloped all over it. The first time I had a cashew cheez' made me think they must be fooling me. I couldn't believe it was non-dairy and this delicious. Well now you can make it at home for less pain on your wallet! This easy recipe will have you coming back for more.


This spread is great on homemade pizza, crackers, chips, lasagna, salad, sandwiches, and more. The cashews provide a smooth creamy texture as the tomatoes give you the sweetness your body craves. The basil kicks in at the end with some herbal notes to delight even the most stubborn of taste buds. This spread, also used as a soft cheez', is so versatile and easy that you'll be keeping cashews in your cupboard for now on.

There are two methods to do this, but since I have the Omega 8006 Juicer (single auger), I chose it. You can use any blender, preferably a high powered one or food processor. The blender and food processor will result in a creamier texture. Whatever you have on hand will do the job!

2 cups raw cashews, soaked overnight 
1 1/2 cups sun dried tomatoes
1 Handful fresh basil 
*Save some of the water from the cashew soak

Blender/ Food Processor Directions
Drain most* of the water out of your soaked cashews. (You can drink this if your a real health nut.) Leave a little bit of the water at the bottom so that the blender will turn more easily. Place raw cashews in machine.
Blend until nice and creamy.
Add in your sun dried tomatoes and basil and blend until all combined.
Use a rubber spatula (or your finger) to get all the goodness out of the container. Store in a ziploc bag, tupperware, or any other wide-rimmed airtight container.

Juicer Directions
Use a blank filter with the 4-holed nozzle. Feed raw cashews through the juicer twice, so that a creamy mixture is left. Place the sun dried tomatoes through, alternating with leaves of basil. Use some of the cashew water to push through if its not coming out. If you dumped it down the sink, just use purified water. After all has been through the masticator, mix together with a fork to combine thoroughly. Enjoy on anything you can possibly put this on!

Ps: There are plenty of health benefits of cashews!

Raw Vegan Hummus


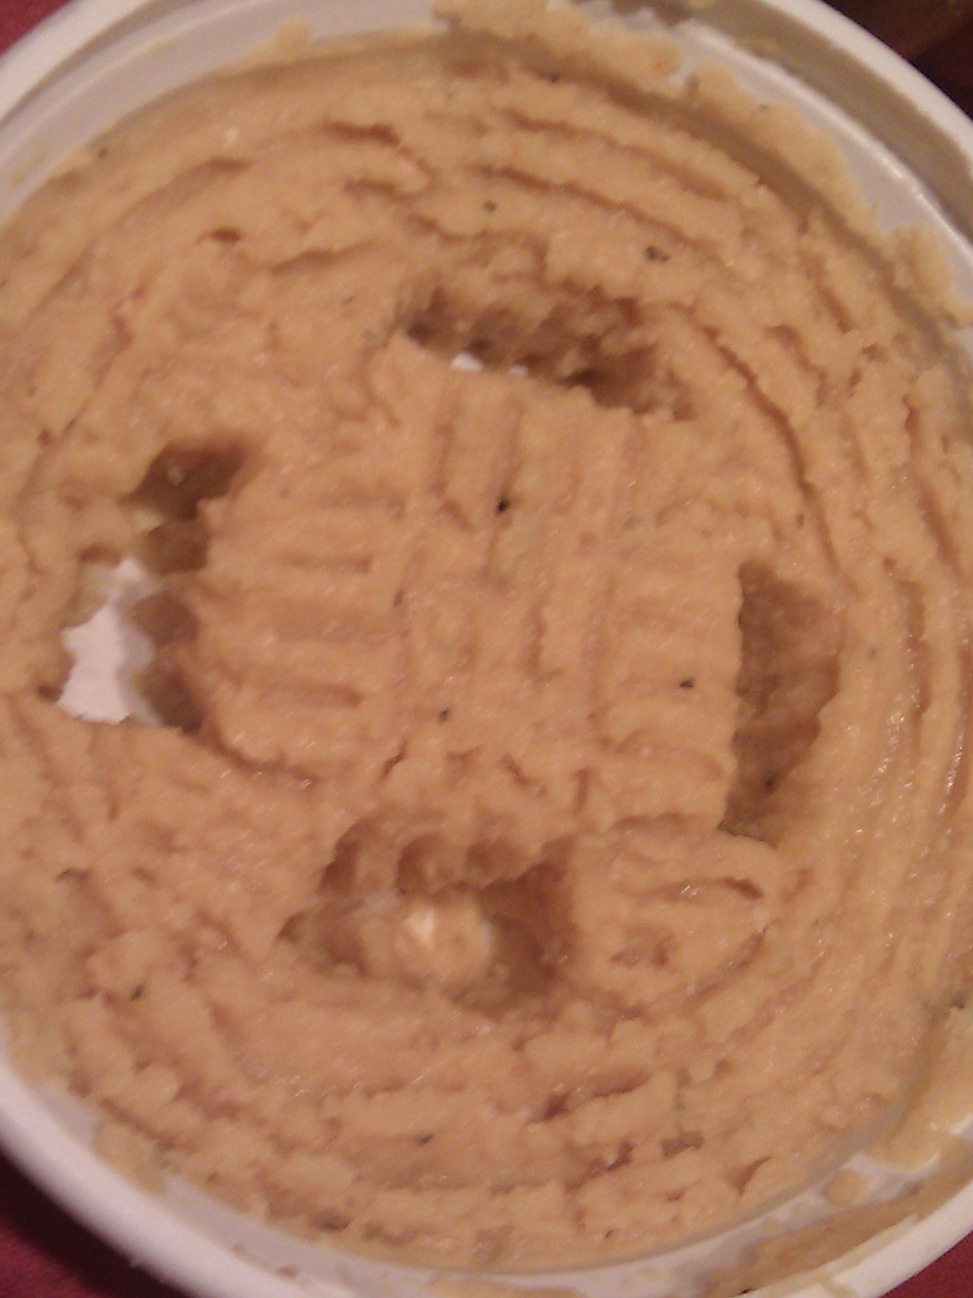
Okay, first off I have to say, I. love. hummus! I would spend $4.59 on two tiny containers of organic hummus almost every single week...until now. Today I made a simple hummus with just a can of chick peas and some lemon juice. It is vegan, raw, and delicious! I could have eaten the entire container, but I held back because I didn't have another can in the cupboard to replace it. Here is the simple solution to a usually expensive addiction of mine.

1 can Garbanzo Beans (Organic if possible)
Garlic Pepper
Lemon Juice
Cayenne (If you like it hot)
Olive Oil

I made mine in my Omega Juicer, but you can use a blender, hand mixer, or a potato masher! Anything you've got on hand to mash these beans will work.

No Equipment Method
Mash the beans until they reach a creamy consistency. Add in a dash of lemon juice, olive oil, and your favorite spices. Use on anything you love or just spoon it into your mouth.
Juicer Method
Use a blank attachment with a 4-holed nozzle. Put the whole can of beans through once. Then take the mash out and put it through again. This will make it creamier. Now add in a dash of olive oil and lemon juice. Flavor it with your favorite spices, or my favorites: garlic, black pepper, and cayenne. Place in an old hummus container, Ziploc baggy, or tupperware. Enjoy for the next 3 days, or in my case 3 hours.

Fun Options
  • Dice and stir in some roasted peppers (Roasted Red Pepper Hummus) 
  • --->They sell a jar of roasted red peppers at most grocery stores. 
  • Bake a head of peeled garlic in foil in the toaster oven until soft and stir in. 
  • Use on sandwiches instead of mayonnaise
  • Use on tacos at topping 
  • Top tortilla soup with a dollop